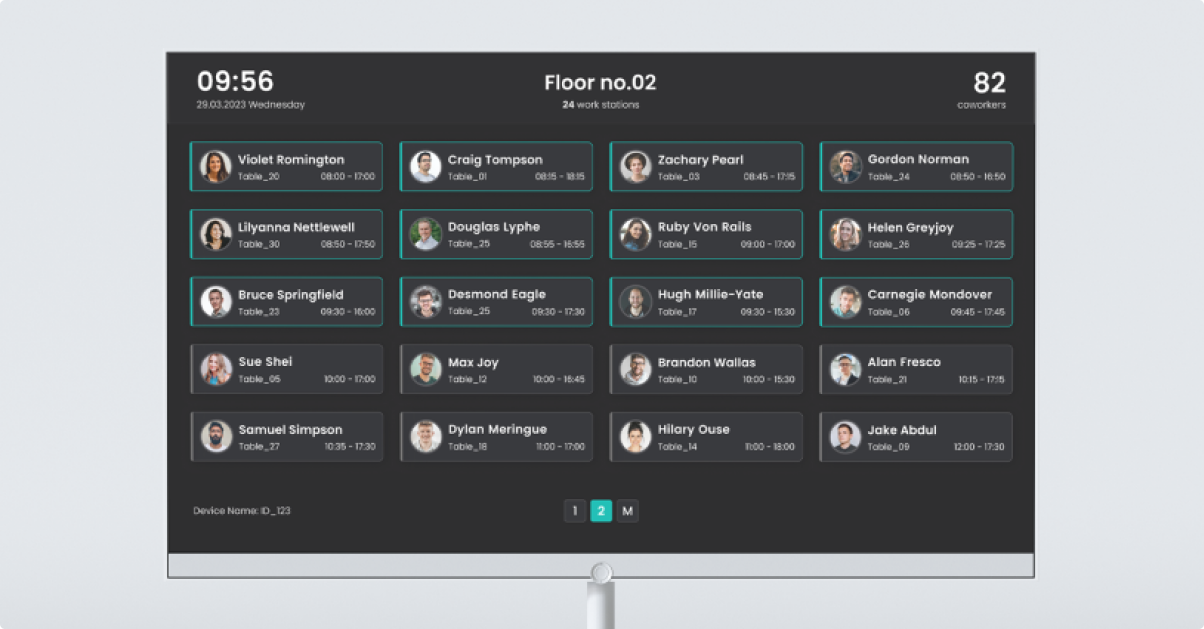
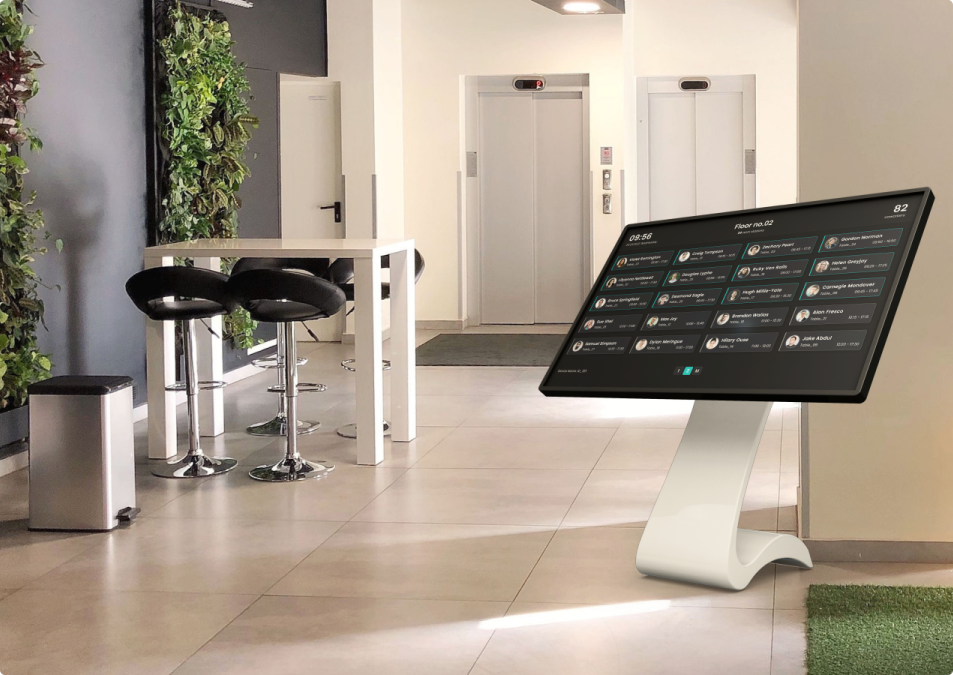
Keep track of office attendance with the Flexopus Presence Display - your key to increased productivity and seamless collaboration
Content:
Note: The presence display is an option of the Display App module, for which a fee is charged. For more information, see the linked article.
What is a presence display?
On a presence display, you can see the colleagues who have booked in to a particular floor today. You can also link several floors to one display. You can use the display with any browser-enabled TV. Simply follow the instructions below. 

How do I configure a presence display?

1. Open the administration area of the desksharing software.
2. Go to "Settings" and click on "Devices".
3. Click on the "Create Device" button in the upper right corner of the pop-up window.
4. Enter a name for the unit. For example: "Presence list 1st floor".
5. Select "Presence list" as the unit type.
6. The next window displays the following information and selection options:
-
Slide Interval: Set how long each page of the presence list should be displayed before switching to the next. Enter the duration in seconds (e.g. 30).
-
Display duration in seconds: Enter the total duration of the presence list in seconds.
-
Display map: Activate this option to display the maps of the connected locations. Each location is displayed as a separate page.
-
Display only active bookings: Activate this option to show only bookings that have already started.
-
Connected locations: A list of all connected locations is displayed.
7. To add a location, click on "Add location". Select the floor on which the monitor will be placed.
8. Save the settings.

9. The pairing code is needed to connect the monitor to the software and display the presence list.
10. Click on the circle arrow button on the right at "Pair device" to generate a pairing code and use the pairing code to connect the monitor to the software. The code is valid for 15 minutes until a new code needs to be generated to pair.
11. The monitor will now display the selected presence list.
12. If you want to remove the device, click on "Delete device". Note that this cannot be undone.

13. At the same time, navigate to the Flexopus login website in the browser on the monitor to be connected and select the link "As display". Then enter the pairing code generated in the admin area.

14. The newly connected monitor will now display the selected conference room board.
15. If you want to remove the device, click on "Delete device". Note that this cannot be undone.
By following these steps, you can set up monitors in your offices and display presence lists of staff present.
R0093