Connecting Akamai with Flexopus is possible through the standard SAML2 authentication protocol.
This article will cover the following instructions:
- What is Akamai?
- SAML2 Single Sign On (SSO) configuration between Akamai and Flexopus for user authentication
What is Akamai?
Visit the official website for more information: https://www.akamai.com/
SAML2 Single Sign On (SSO) configuration between Akamai and Flexopus for user authentication
Follow the instructions:
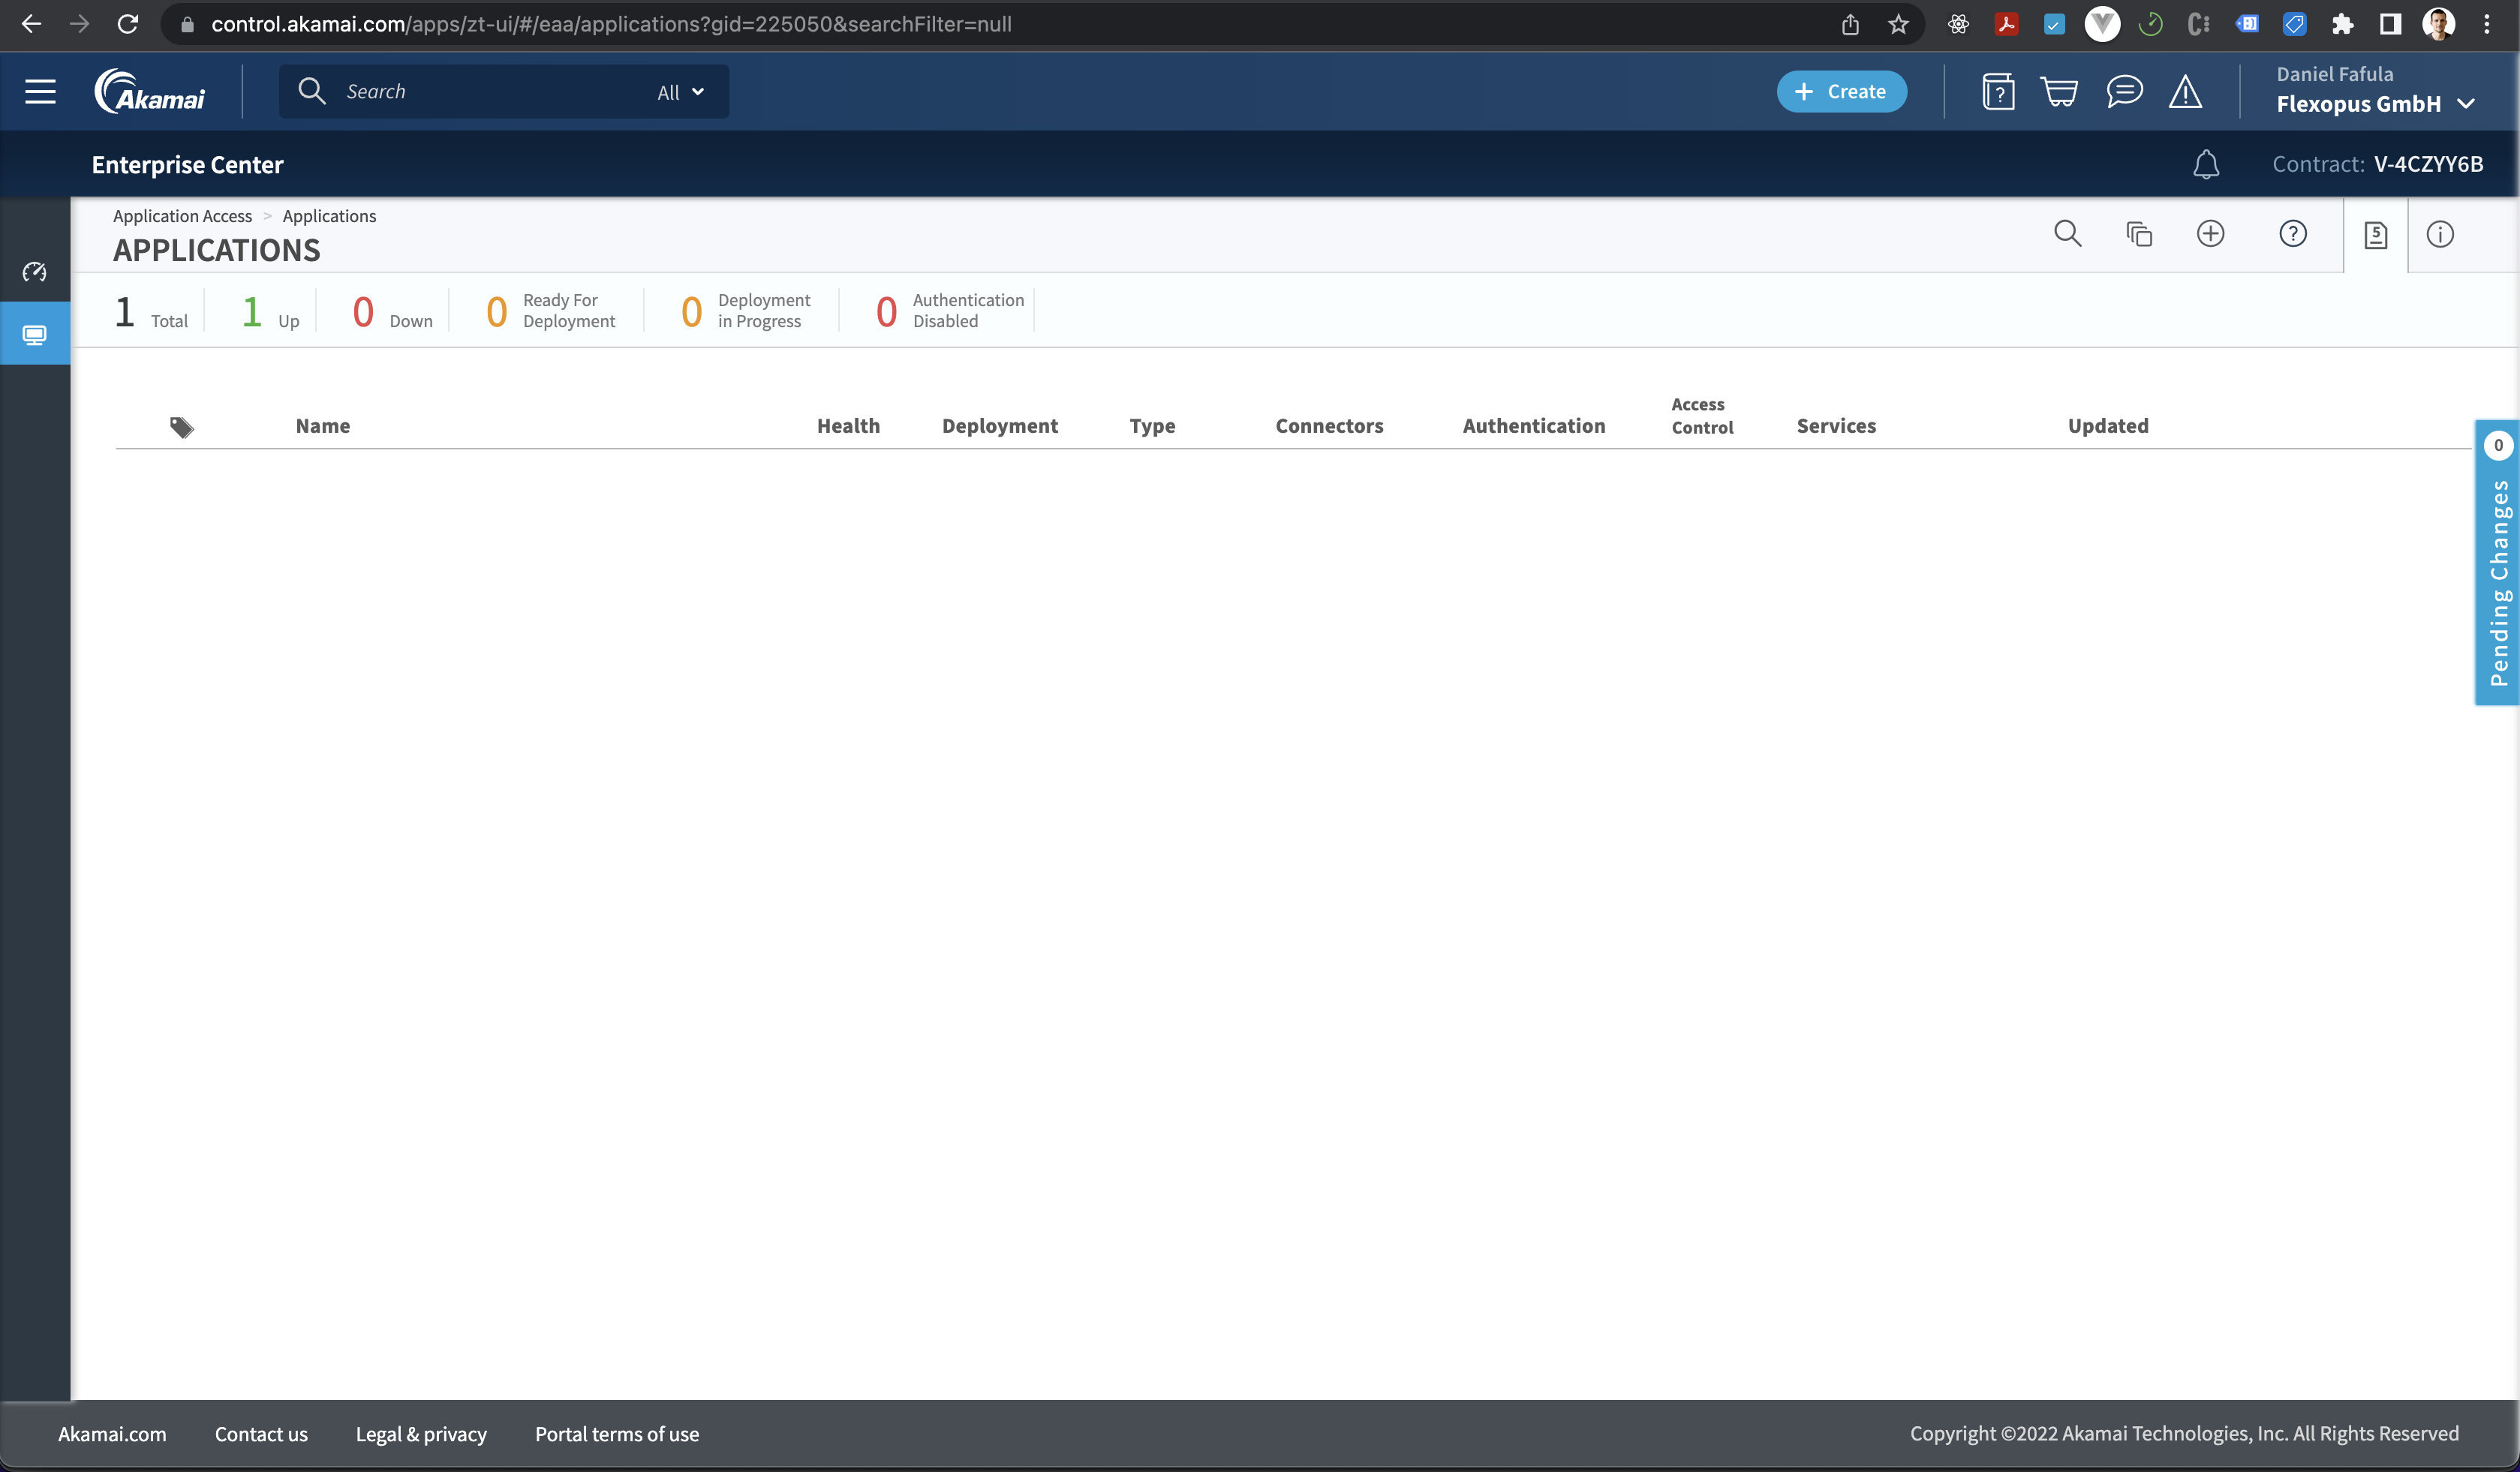
- Go to your Akamai Dashboard and click on the Applications > Applications tab on the Add Application Button.
- Type: New SaaS App
Name: Flexopus App
Description: Desk Sharing Software
Protocol: SAML 2.0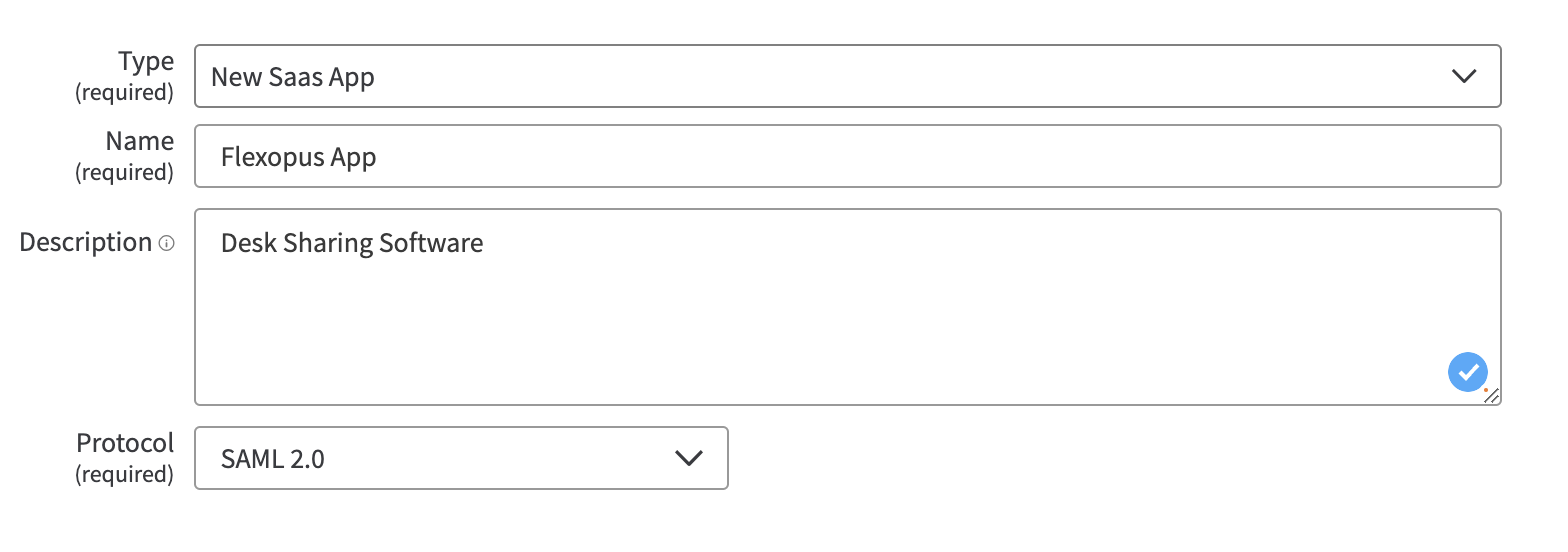
- {your-flexopus-domain} (example: https://demo.flexopus.com)
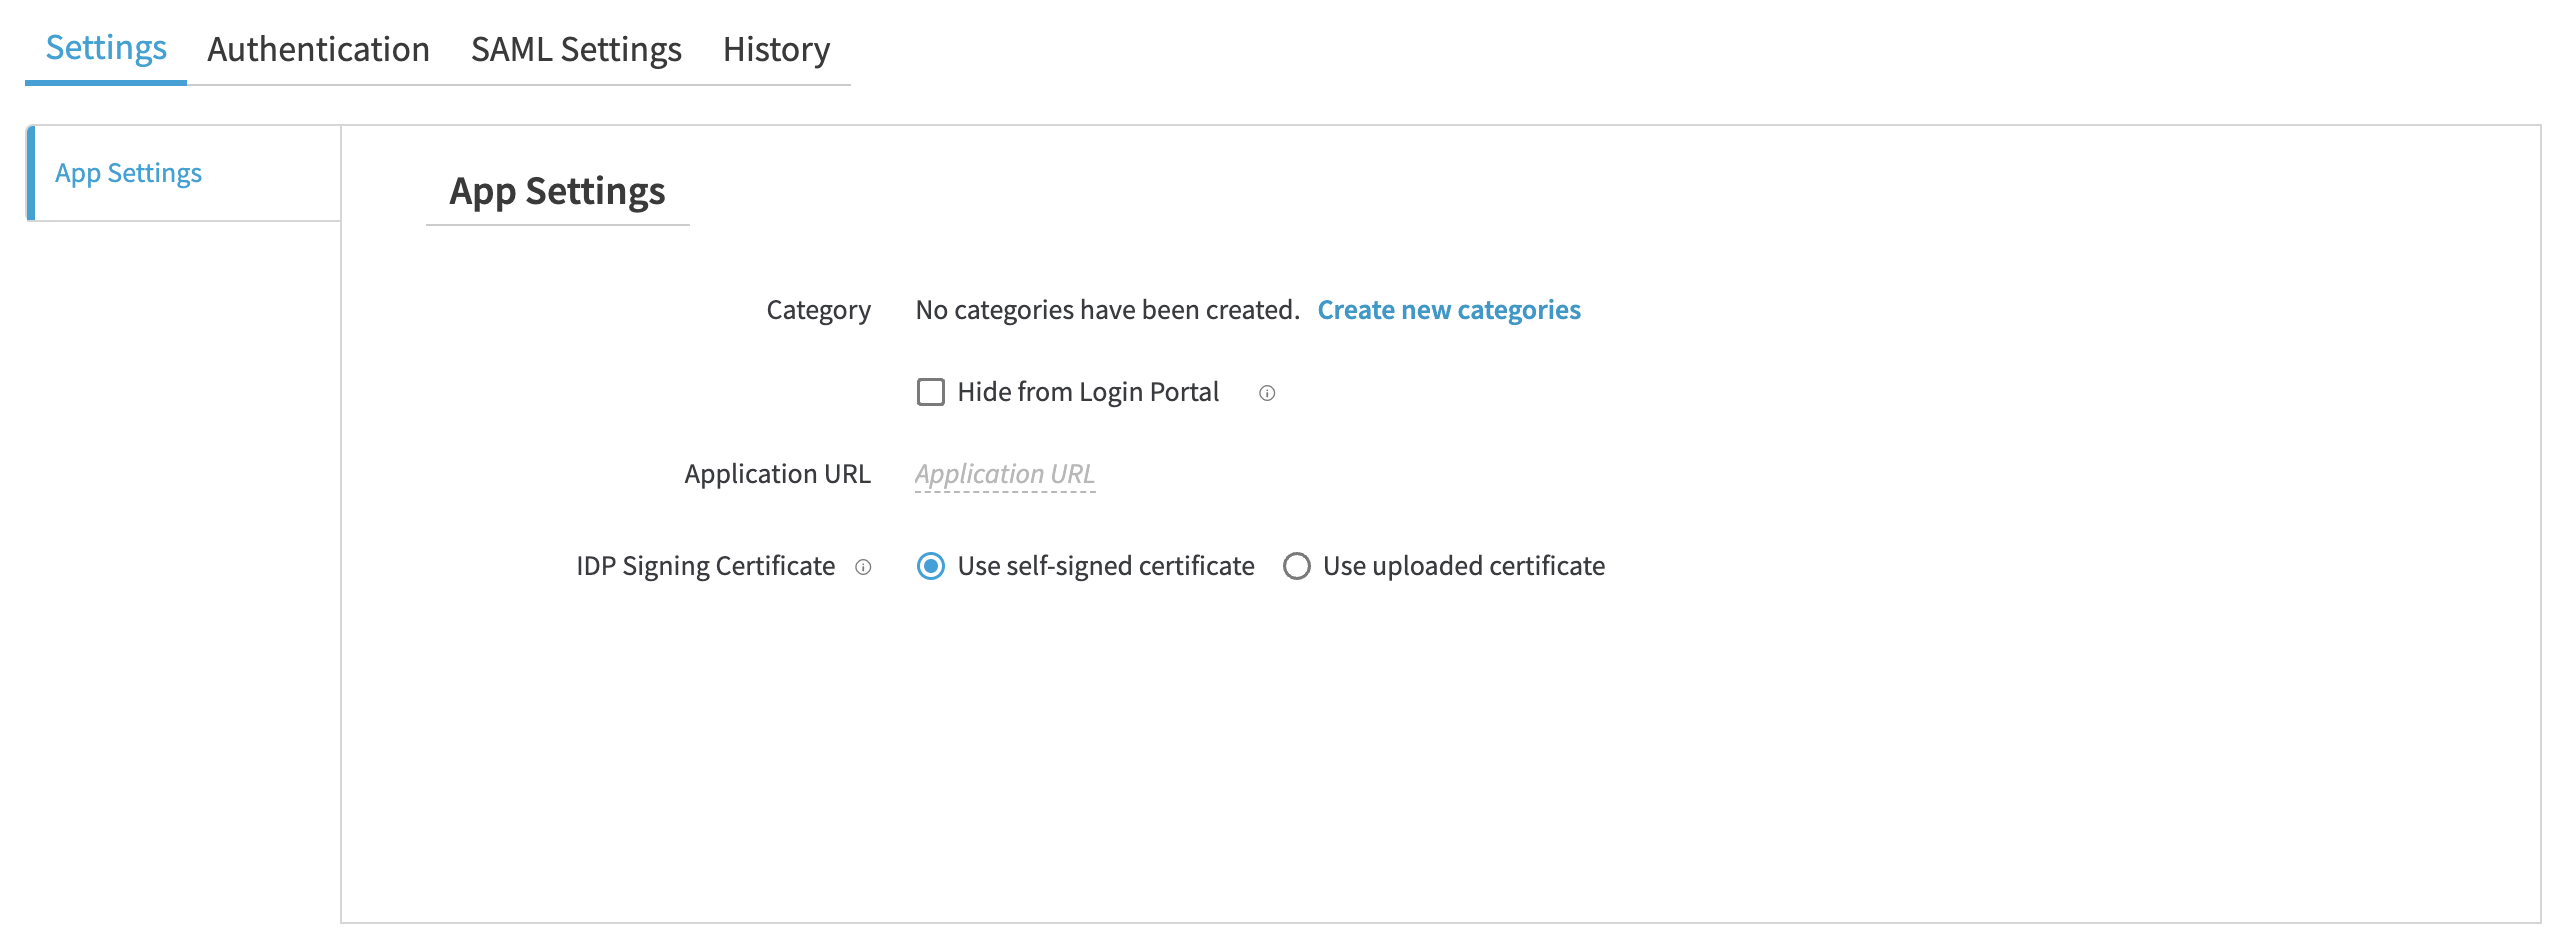
- Add SAML2 app to Flexopus.
Create a new SAML2 connection: Admin Dashboard > Settings > Authentication > Add Provider. You can link several identity providers to Flexopus via SAML2. We already provide separate URLs for each provider:
- Metadata File
- Metadata URL
- Entity ID
- Callback (ACS) URL.
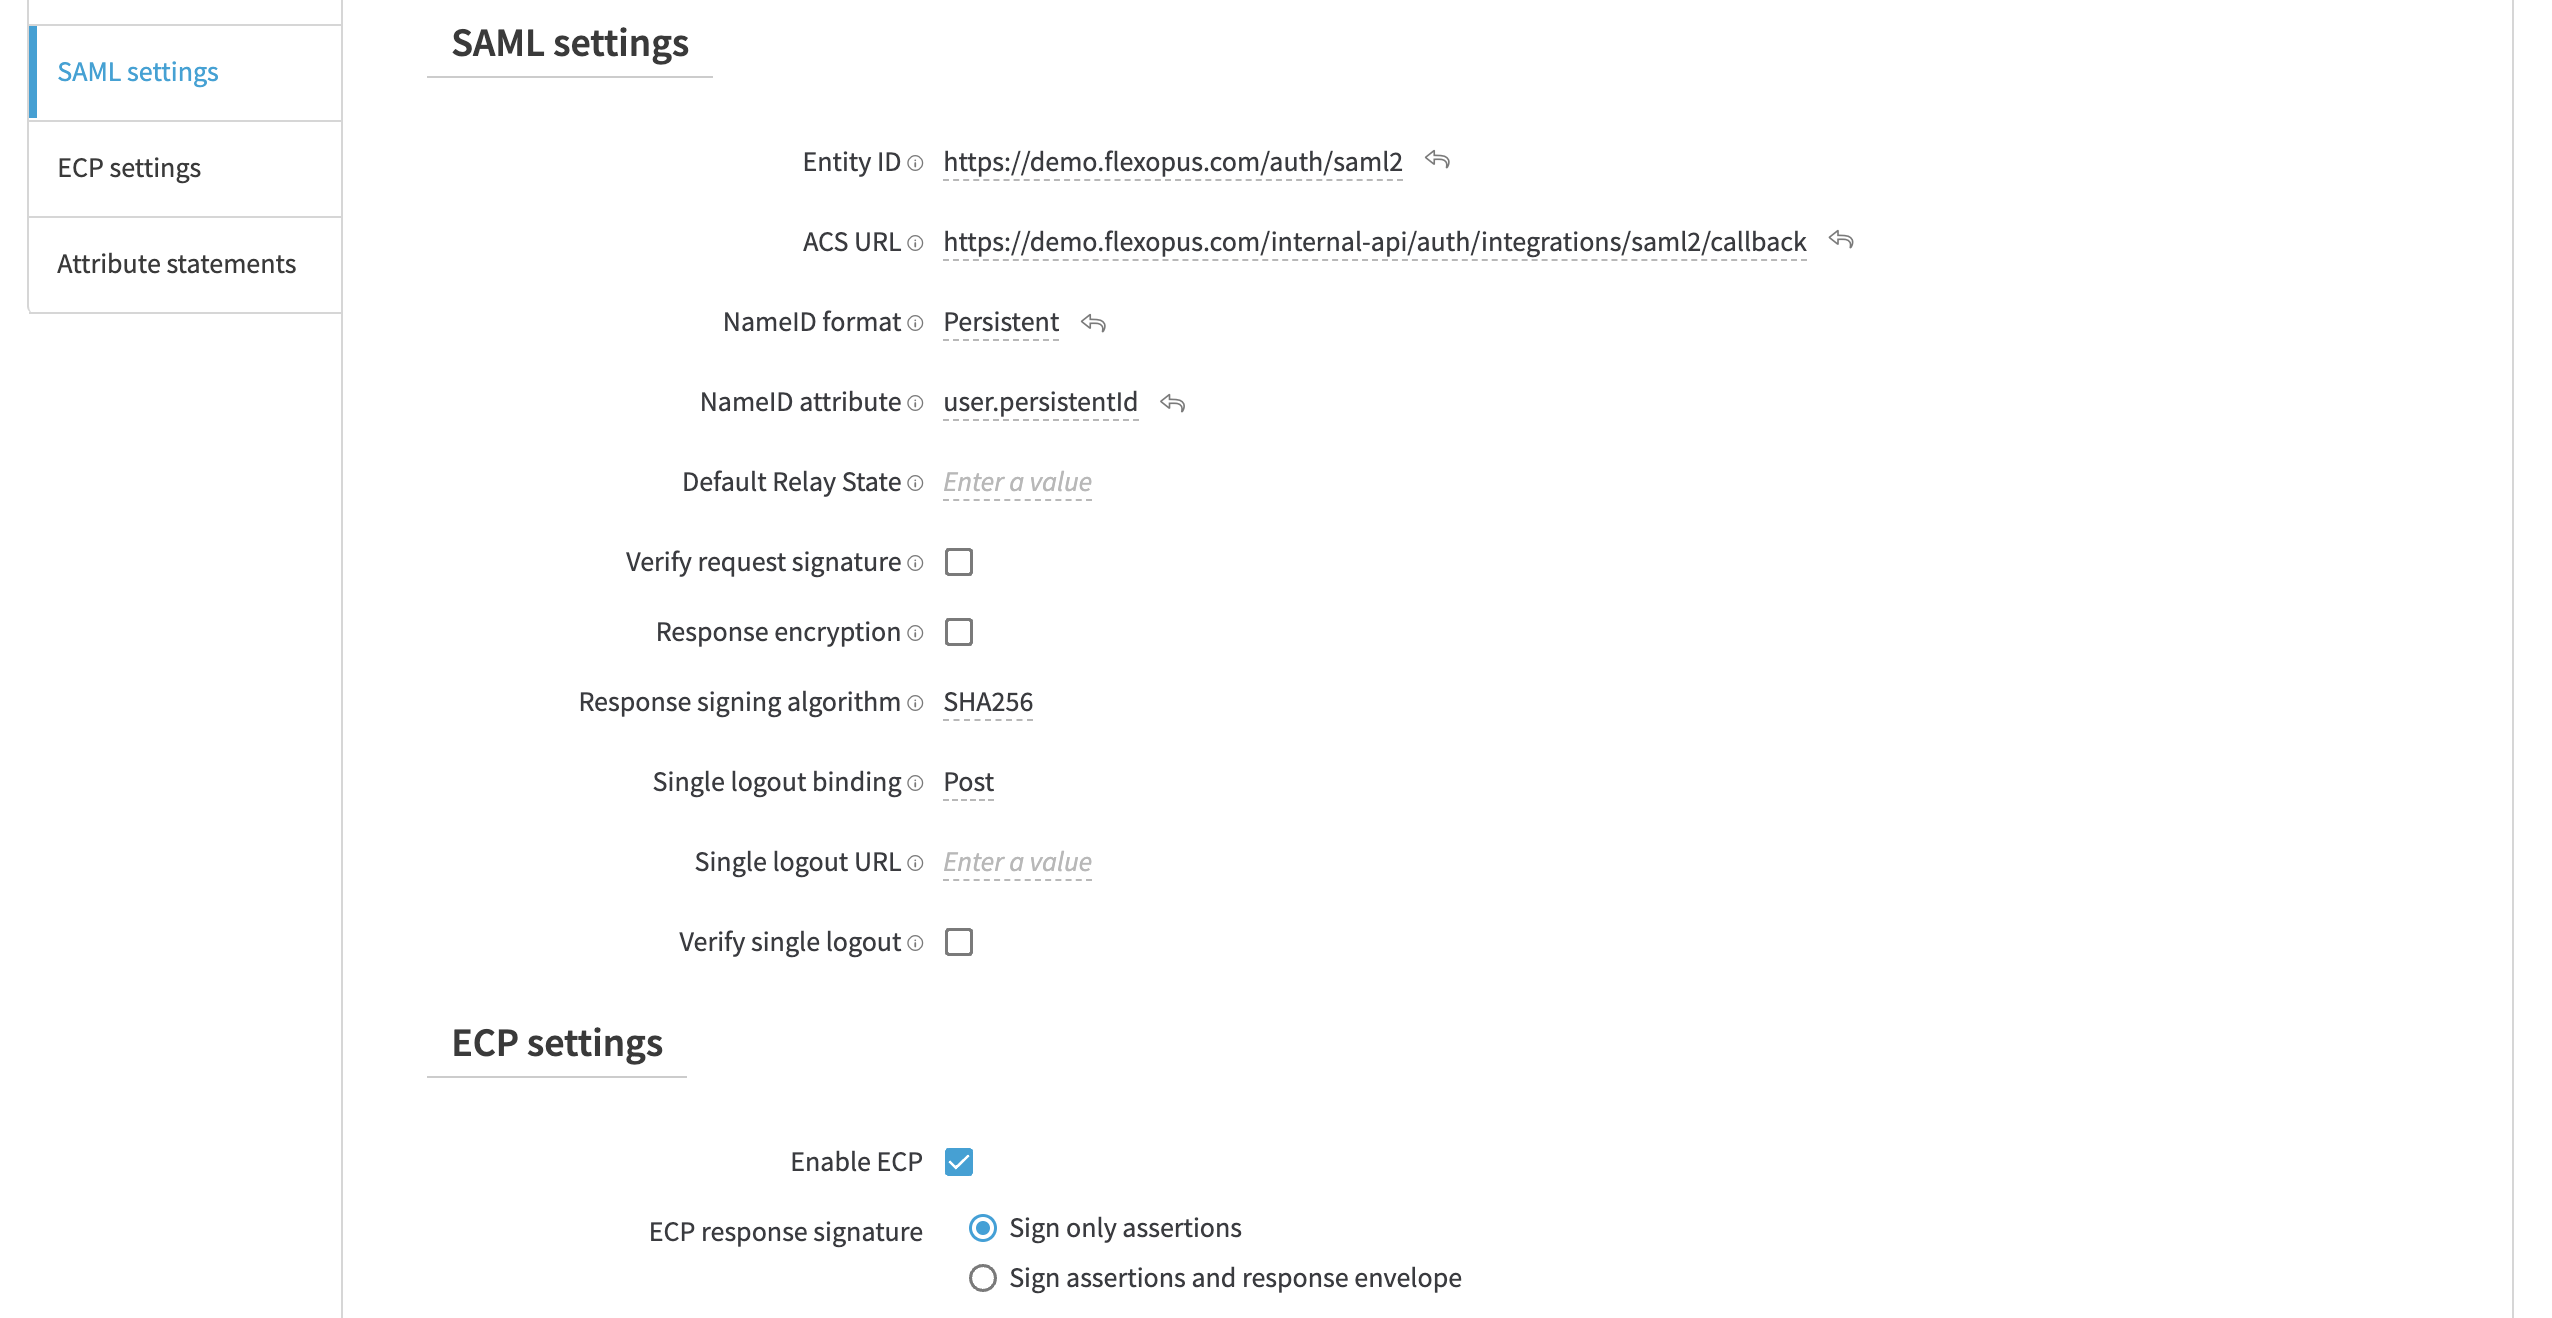
- Go to SAML2 Settings
Entity ID: Copy the provided entity ID from the created SAML2 application from the Flexopus Dashboard.
ACS URL ID: Copy the provided ACS URL ID from the created SAML2 application from the Flexopus Dashboard.
NameID format: PersistentName attribute: user.persistentId
Verify single logout: off
Enable ECP: On (Sign only assertions)
- Configure the correct attribute mappings. You can leave the friendly name empty.
*Note that the department and the jobtitle is only an optional attribute for Flexopus. You can also leave it empty.
Name Name format Value http://schemas.xmlsoap.org/ws/2005/05/identity/claims/givenname URl Reference user.firstName http://schemas.xmlsoap.org/ws/2005/05/identity/claims/emailaddress URl Reference user.email http://schemas.xmlsoap.org/ws/2005/05/identity/claims/upn URl Reference user.userPrincipleName http://schemas.xmlsoap.org/ws/2005/05/identity/claims/surname URl Reference user.lastName department Basic user.department jobtitle Basic user.title 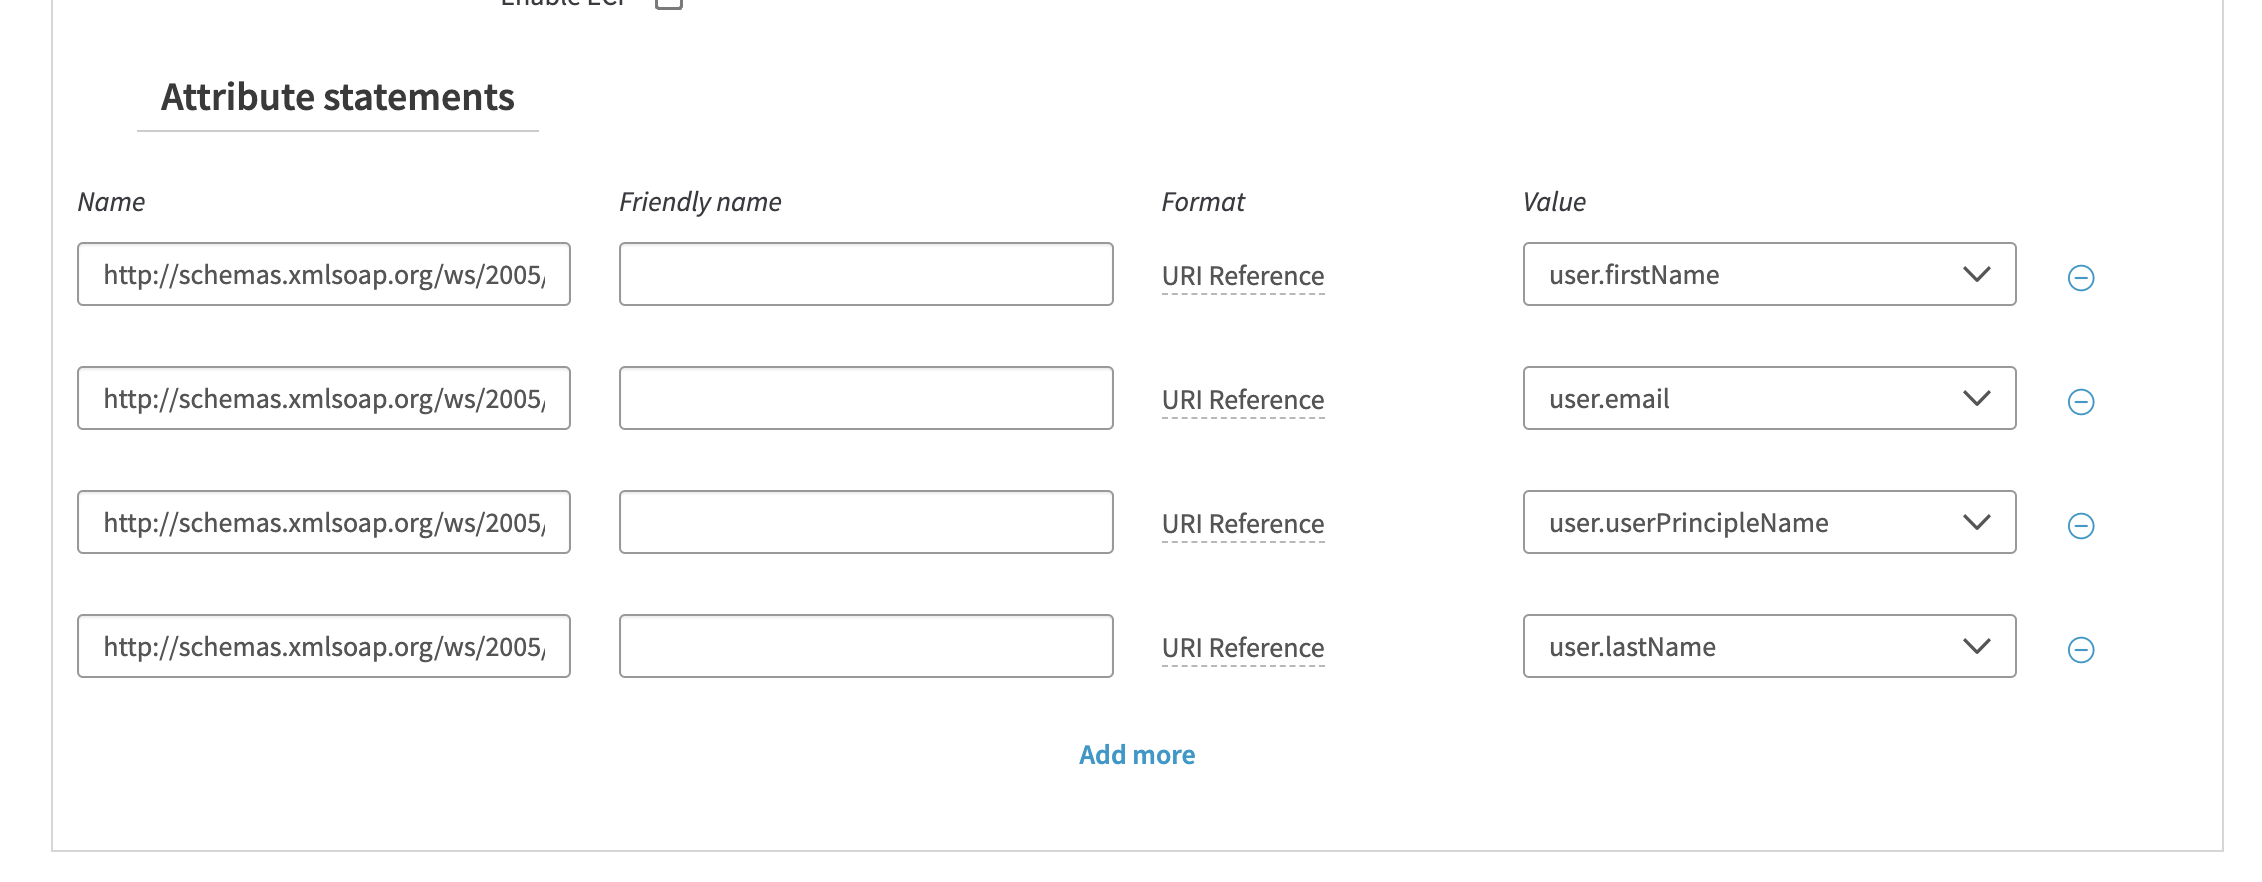
- Save and Deploy the app. Wait until the app is deployed. It takes time.

- Go to the SAML Settings page and download the Metadata file.
- Go to the Flexopus Dashboard. Select Settings > Authentication > SAML2 App.
Activate SAML2 SSO
Select Metadata file
Upload the XML file
SAML2 login label: SSO Login
Synchronize groups: Deactivated
Do not forget to save the settings. - Assign a user directory to your app at Akamai, which includes the enabled user profiles for login.
- Test the login.
- (optional) If you want to use only the SSO for login, deactivate the Password + Email login form at Flexopus (We recommend doing it after you finished the SCIM configuration.):
- (optional) Troubleshooting:
Please check the configuration manual again or contact our support: support@flexopus.com
R 0083