Erfahren Sie, wie Sie in wenigen Schritten die Konfiguration durchführen können.
Step 1: Create a new enterprise application
- Go to Azure Active Directory and select Enterprise Applications (or use this link)
- Choose New application

- Choose Create your own application

- Set a name for the application and select Integrate any other application you don't find in the gallery (Non-gallery)

- In your newly created application, link your users and groups to the Flexopus application on the Users and groups page.
Step 2: Set up SSO login
- Choose SAML on the Signle sign-on page.

- Edit the Basic SAML Configuration.

- You need to log in at Flexopus. Go to Dashboard > Settings > Authentication. Create a SAML2 Provider and copy the Entity ID and the Reply URL from Flexopus to the AAD. You can find both URLs in the newly created Flexopus SAML2 integration.
Theoretically, you can connect multiple SAML2 IdPs with Flexopus, for this reason we have a prefix in the URL for each URL separately.

TIP FOR THE SIGN ON URL (OPTIONAL):
If you also want to make the application available to colleagues through https://myapps.microsoft.com, then you must be sure to complete the Sign On URL. In addition, you must allow the setting "Visible to users" in the Enterprise Application Properties. We recommend this setting.
4. Edit User Attributes & Claims
5. Set Additional Claims
- Change the name to user.displayname

- Add upn with the Add new claim button and set it to user.userprincipalname

- Optionally you can add department with user.department

- Optionally you can add jobtitle with user.jobtitle

6. Copy the App Federation Metadata URL

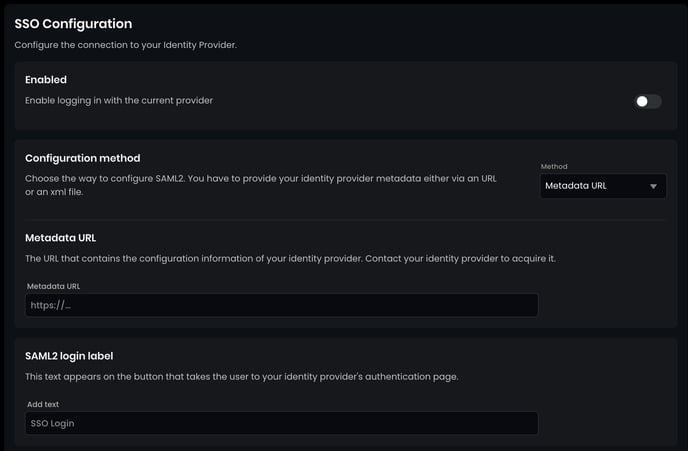
7. Open the authentication settings in your Flexopus tenant
- Add a new provicer. Choose SAML2
- Choose the configuration method 'Metadata URL' and paste the copied SAML2 metadata URL
- Set the label of the login button
- Save your changes and enable the login

Step 3 (optional): Set up SCIM integration
Use the SCIM guide for this.
R0051